
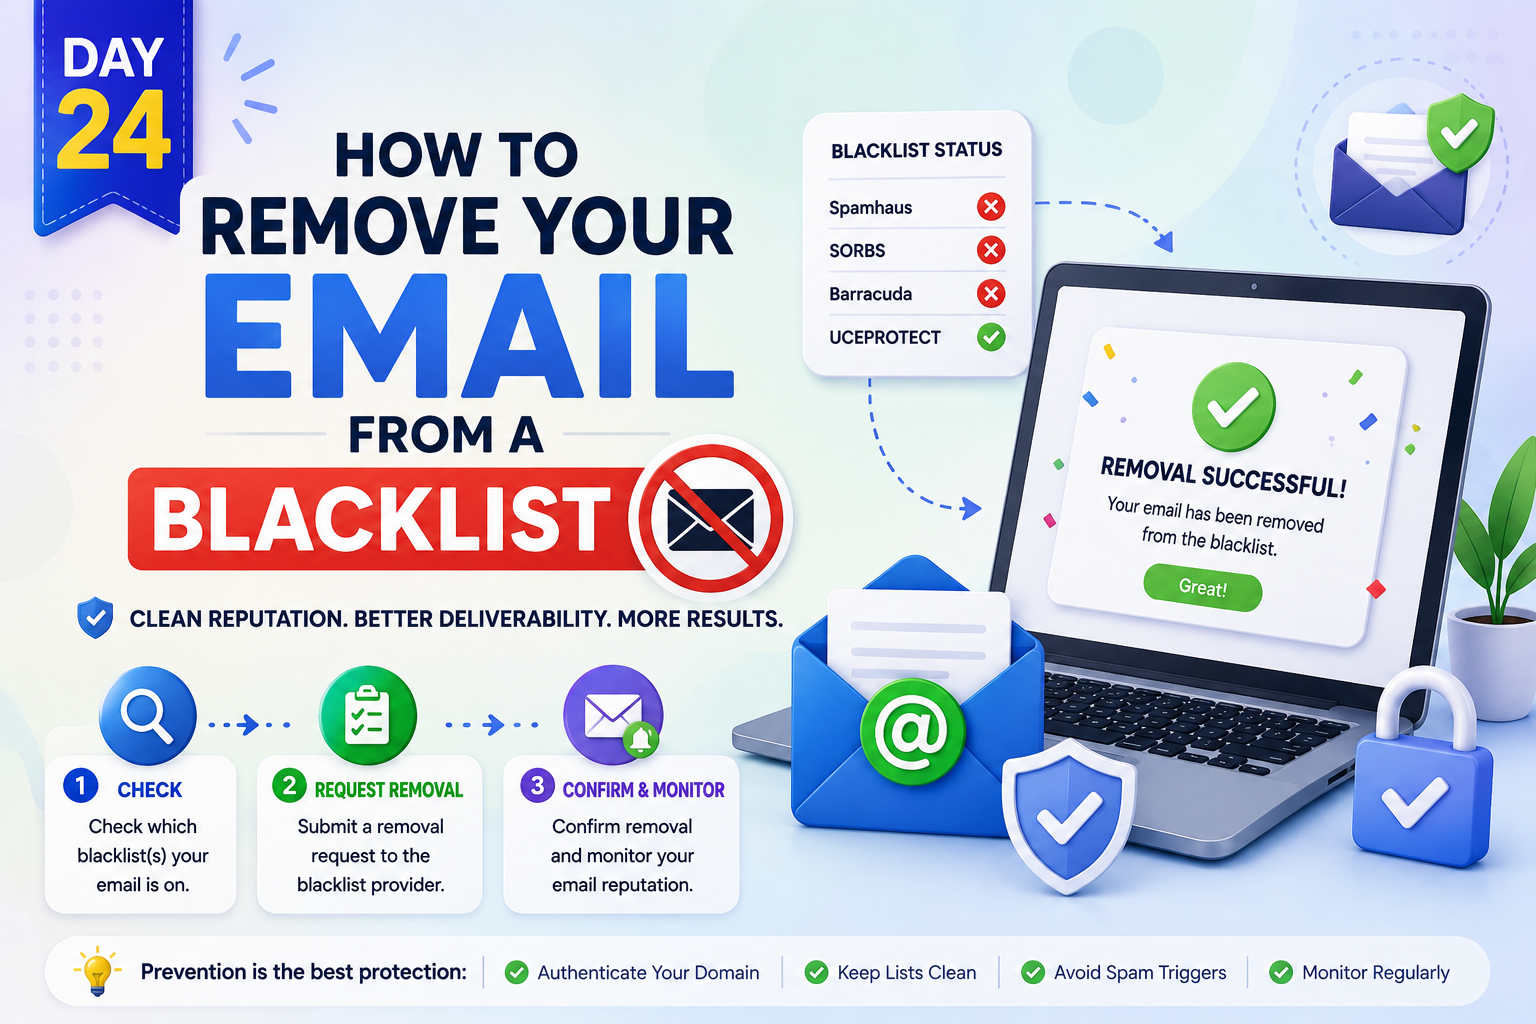


Have you ever wondered why your important messages suddenly stop reaching their intended recipients? It is a frustrating experience that can disrupt your entire professional workflow. When your domain or IP address is flagged, you might find your outreach efforts hitting a digital wall.
Being email blacklisted is a serious hurdle that impacts your sender reputation and overall communication strategy. This status essentially tells internet service providers that your outgoing traffic is untrustworthy. Understanding why this happens is the first step toward regaining control of your inbox.
In this guide, we will explore how to identify if you are currently email blacklisted and the specific steps required to clear your name. You will learn how to monitor your deliverability and implement best practices to keep your messages landing safely in the primary folder.
Key Takeaways
- Recognize the early warning signs of poor deliverability.
- Learn the technical process to verify your sender reputation.
- Discover effective methods to request removal from common blocklists.
- Implement authentication protocols to protect your domain integrity.
- Maintain long-term health by following industry-standard sending habits.
Protect Your Sender Reputation Before Your Next Campaign
Don’t wait until your emails are blacklisted. Use MailerRocket to monitor deliverability, improve inbox placement, and send campaigns with confidence from day one.
Understanding Why Your Email Gets Blacklisted
Your email infrastructure acts as a digital gatekeeper, and sometimes, those gates slam shut unexpectedly. When you find your domain or IP address on a restricted list, it usually means that automated security systems have flagged your sending behavior as suspicious.
Understanding these protocols is essential for maintaining a healthy connection with your subscribers. Knowing the reasons behind an email blacklisted status helps businesses take preventive action before major deliverability problems occur.
The Mechanics of Email Blacklists
Global blacklist databases function as real-time directories of senders identified as potential threats. These systems monitor incoming traffic patterns to protect users from malicious activity. When suspicious patterns continue over time, a sender may find their domain email blacklisted by multiple security providers. If your domain becomes email blacklisted, it is because your sending patterns have deviated from established norms.
“Deliverability is not just about technical configuration; it is about the trust you build with every single recipient on your list.”
Common Triggers for Blacklisting
Several factors can lead to a sudden drop in your sender reputation. A domain becoming email blacklisted is often the result of repeated sending issues that were ignored over time. Security filters look for specific red flags that suggest you are not following industry best practices. These warning signals often appear before a business discovers that its email domain is blacklisted. By identifying these triggers early, you can adjust your strategy before your deliverability suffers.
High Bounce Rates and Invalid Addresses
A consistently high email bounce rate is one of the most common reasons for being flagged. When you send messages to non-existent or outdated addresses, internet service providers assume you are not managing your list properly.
Maintaining clean data is the most effective way to prevent these errors from accumulating. Ignoring bounce problems for too long can eventually result in your sending domain becoming email blacklisted. Without proper list management, your domain can become email blacklisted due to continuous delivery failures.
Spam Complaints from Recipients
When users mark your messages as junk, they send a negative signal to their email provider. A continuous increase in complaints can push your sender reputation down and leave your email blacklisted. If your volume of complaints exceeds a certain threshold, you will likely find your domain email blacklisted by major providers.
Always ensure that your content is relevant and that your unsubscribe process is easy to find. Preventing an email blacklisted status starts with maintaining positive engagement signals from your audience.
Poor IP Reputation and Shared Hosting Risks
Your reputation is often tied to the infrastructure you use to send your messages. If you use shared hosting, your email bounce rate might be negatively impacted by the poor habits of other users on the same server.
Dedicated IP addresses offer more control, but they require consistent monitoring to ensure your reputation remains untarnished. A shared IP with poor sending behaviour can increase the chances of your email being blacklisted.
How to Check if Your Email Is Blacklisted
If your messages are failing to reach the inbox, you need to check email for blacklist status immediately. Identifying a blacklist email issue early prevents long-term damage to your domain reputation. The earlier you detect that your email is blacklisted, the easier it becomes to restore inbox placement.
By using professional diagnostic tools, you can quickly determine if your IP address or domain has been flagged by major internet service providers. Finding out that your domain is email blacklisted early allows you to take corrective action before your sender reputation suffers further.
Using Online Blacklist Monitoring Tools
Several industry-standard platforms allow you to scan your infrastructure against hundreds of real-time blacklists. These tools provide a centralized view of your standing across the global email ecosystem. Regular monitoring helps identify whether your domain is email blacklisted before it affects your campaigns. To perform a thorough check, follow these steps:
- Enter your domain name or sending IP address into a reputable lookup tool like MXToolbox or MultiRBL.
- Review the status indicators for each database listed in the results.
- Look for “Listed” or “Blocked” statuses that signal a delivery problem.
Regular blacklist monitoring makes it easier to identify when your domain becomes email blacklisted before it impacts customer communication.
Interpreting Results from Major Blacklist Databases
Once you receive your report, you must understand what the data means for your business. Not all listings carry the same weight, and some are more critical than others. Understanding why your email is blacklisted helps you choose the right recovery strategy. Use the following table to categorize the severity of your findings:
| Database Type | Impact Level | Action Required |
|---|---|---|
| Global Tier 1 | Critical | Immediate Investigation |
| Regional/Niche | Moderate | Monitor and Review |
| Informational | Low | Routine Maintenance |
Understanding Spamhaus and Barracuda Reputation
Spamhaus and Barracuda are two of the most influential entities in the email security space. A listing here often results in an immediate, total block of your outbound communications. Businesses that discover their email blacklisted status on these platforms should investigate their sending practices immediately. Spamhaus focuses on high-volume spam sources, while Barracuda maintains a reputation system based on user feedback and traffic patterns.
Platforms like MailerRocket help businesses follow email marketing best practices, monitor sender reputation, and maintain better email deliverability, reducing the likelihood of blacklist issues. This proactive approach can help prevent situations where your sending domain becomes email blacklisted.
Analyzing SORBS and CBL Listings
The Spam and Open Relay Blocking System (SORBS) and the Composite Blocking List (CBL) often flag servers that show signs of compromise. These databases frequently target open relays or infected machines sending unauthorized traffic. If you find your domain on these lists, it is a strong indicator that your infrastructure may be compromised or misconfigured. Resolving these issues quickly reduces the risk of remaining email blacklisted for an extended period.
Immediate Steps to Take When You Are Blacklisted
When you find your domain is email blacklisted, you must act quickly to protect your sender reputation. Delaying your response can lead to long-term damage that affects your ability to reach customers. By following a structured recovery plan, you can minimize the impact on your business operations. Acting quickly after discovering your email blacklisted status can prevent additional reputation damage.
Stopping All Outbound Campaigns
The first priority is to halt all automated email sequences immediately. Continuing to send messages while flagged signals to providers that you are ignoring security warnings. This action prevents further damage to your domain authority and stops the flow of potentially harmful traffic. Continuing campaigns while email blacklisted can make recovery more difficult.
Identifying the Root Cause of the Flag
Once your campaigns are paused, you need to investigate why the block occurred. Check your server logs for signs of unauthorized access or sudden spikes in bounce rates. Understanding the specific trigger is a vital part of learning how to remove email from blacklist entries effectively. The faster you identify why your email became blacklisted, the faster you can restore normal delivery.
- Review recent login activity for suspicious IP addresses.
- Check if your contact list contains outdated or invalid addresses.
- Scan your website for potential malware or compromised forms.
Communicating with Your Email Service Provider
Your Email Service Provider (ESP) is your most valuable partner during this process. Open a support ticket immediately to inform them of the situation and request guidance. Your provider can help determine whether your email blacklisted issue is caused by technical problems, poor list quality, or suspicious activity.
They often have direct lines to major blacklist operators and can provide specific insights into the nature of the flag. Their guidance can help resolve an email blacklisted situation more efficiently.
| Trigger Type | Initial Action | Recovery Priority |
|---|---|---|
| Compromised Account | Reset all passwords | High |
| High Bounce Rate | Clean your mailing list | Medium |
| Spam Complaints | Review opt-in methods | High |
| Malware Presence | Secure your web server | Critical |
Maintaining clear communication with your provider ensures you have the right data to resolve the issue. Always document every step you take, as this information will be necessary when you eventually request to be removed from the database.
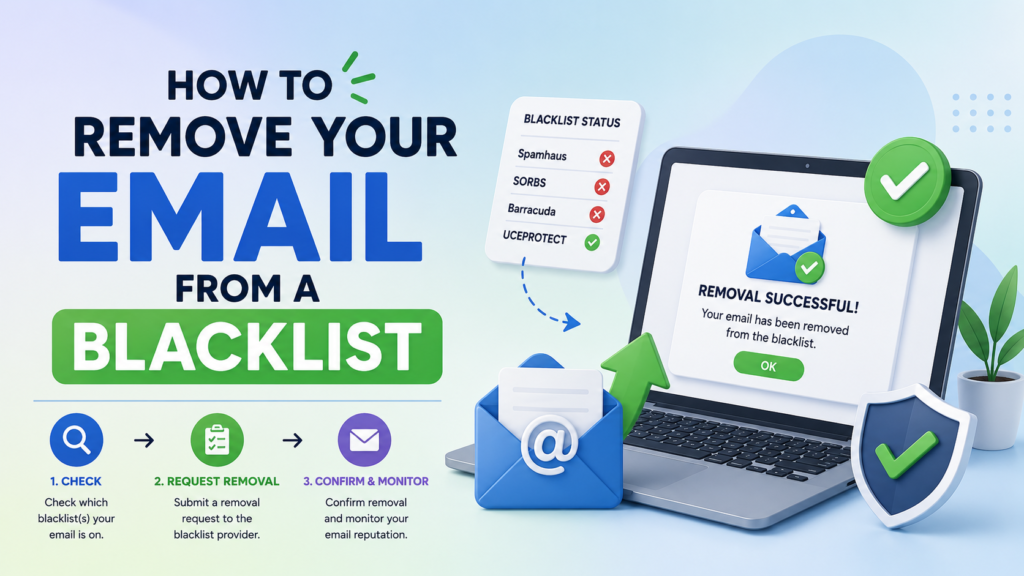
How to Remove Your Email from a Blacklist
Understanding the delisting process is essential for anyone looking to learn how to remove email from blacklist status effectively. When your domain is flagged, you must approach the situation with transparency and technical precision to regain your sender reputation.
Successfully recovering from an email blacklisted situation requires fixing the cause, not just requesting removal. A domain that is email blacklisted requires both technical fixes and reputation recovery steps before normal email delivery can resume.
Navigating the Delisting Request Process
Most major blacklist operators provide a dedicated portal for submission. You should visit the specific website of the organization that flagged your IP or domain to find their unique removal form.
Ensure you follow their instructions exactly as written. Providing incomplete information often leads to an automatic rejection of your request, which can delay your recovery significantly.
Providing Necessary Information to Blacklist Operators
To successfully resolve a blacklist email issue, you must prove that you have identified and fixed the underlying problem. Operators want to see that you are taking responsibility for your traffic. A clear explanation of why your email was blacklisted improves the chances of successful review.
Prepare a summary that includes your server logs, evidence of your opt-in processes, and a clear plan for future compliance. Being proactive shows that you are a legitimate sender who simply encountered a technical or security hurdle.
Managing Expectations During the Review Period
It is important to remember that removal is not always instantaneous. Some operators process requests within a few hours, while others may take several days to verify your claims.
Do not flood their support channels with multiple requests, as this can be perceived as spammy behavior. Patience is a key component of the process while you wait for the database to update. During this period, your domain may continue appearing as email blacklisted until the blacklist refreshes.
| Operator Type | Typical Response Time | Primary Requirement |
|---|---|---|
| Automated Lists | 1–24 Hours | Technical Proof of Fix |
| Manual Review Lists | 2–5 Business Days | Detailed Compliance Audit |
| Reputation Services | Up to 7 Days | Verified Sender History |
By following these steps, you can effectively manage a blacklist email situation. Staying organized and professional is the best way to ensure you learn how to remove email from blacklist records permanently.
Technical Configurations to Improve Email Deliverability
Securing your domain is the most effective way to stop email deliverability issues before they start. By establishing clear authentication protocols, you prove to receiving servers that your messages are legitimate. This technical foundation is essential for maintaining a high sender reputation in the modern digital landscape. Proper configuration reduces the chances of your domain becoming email blacklisted due to authentication failures.
Implementing SPF Records for Domain Authentication
The Sender Policy Framework (SPF) acts as a whitelist for your domain. It is a DNS record that lists the specific IP addresses and services authorized to send email on your behalf. When a server receives your message, it checks this record to ensure the sender is permitted.
If the sending server is not on your list, the receiving system may flag the message as suspicious. Properly configuring your SPF record is a critical step in resolving email deliverability issues. You should ensure that your record includes all third-party tools you use for marketing or transactional emails.
Setting Up DKIM Signatures
DomainKeys Identified Mail (DKIM) adds a digital signature to your emails. This signature confirms that the content of your message has not been altered during transit. It provides a layer of cryptographic security that builds trust with major inbox providers.
By attaching a unique key to your email headers, you verify your identity to the recipient. This process prevents malicious actors from tampering with your communications. DKIM signatures are a standard requirement for modern, professional email sending.
Configuring DMARC Policies
Domain-based Message Authentication, Reporting, and Conformance (DMARC) ties SPF and DKIM together. It allows you to tell receiving servers exactly how to handle emails that fail authentication checks. You can choose to monitor, quarantine, or reject unauthorized messages sent from your domain.
Implementing a strict DMARC policy is the final step in securing your infrastructure against spoofing. This proactive approach helps you gain visibility into your traffic and prevents persistent email deliverability issues. Consistent monitoring of your DMARC reports ensures that your domain remains protected and your sender reputation stays intact.
Managing Your Email List Hygiene
Maintaining a pristine email list is the cornerstone of a successful digital marketing strategy. When you fail to prune your database, you risk damaging your sender reputation, which may eventually force you to check email for blacklist status more often than you would like.
Consistent maintenance ensures that your communication remains relevant and effective. Regular list cleaning reduces the chances of your domain becoming email blacklisted because of poor-quality contacts.
Send Cleaner Email Campaigns with MailerRocket
Verify contacts, reduce bounce rates, monitor sender reputation, and keep every campaign compliant with powerful email marketing tools built for better deliverability.
Removing Inactive and Unengaged Subscribers
Subscribers who have not opened your emails in months are dead weight. These inactive users do not contribute to your goals and can negatively impact your engagement metrics. You should implement a re-engagement campaign to win them back before permanently removing them from your list.
Removing these users is a proactive step that signals to mailbox providers that you value quality over quantity. By focusing on an active audience, you improve your open rates and decrease the likelihood of being flagged as spam.
Maintaining a healthy subscriber base lowers the risk of your email being email blacklisted because of poor engagement signals. This simple practice keeps your sender reputation healthy and strong.
Verifying Email Addresses Before Sending
Before you hit the send button, you must ensure that your list contains valid, reachable addresses. Using professional verification services helps you identify syntax errors, disposable domains, and inactive accounts. This process is essential to keep your email bounce rate within acceptable industry limits.
“Data quality is the foundation of every successful email marketing program. If your list is dirty, your message will never reach the people who actually want to hear from you.”
Handling Hard Bounces and Soft Bounces Effectively
Understanding the difference between bounce types is vital for long-term success. A hard bounce indicates a permanent delivery failure, such as an invalid email address, while a soft bounce is usually temporary. You must manage these categories differently to protect your domain reputation.
| Bounce Type | Definition | Recommended Action |
|---|---|---|
| Hard Bounce | Permanent delivery failure | Remove immediately |
| Soft Bounce | Temporary delivery issue | Retry up to three times |
| Blocked Bounce | Security filter rejection | Check email for blacklist |
By tracking your email bounce rate, you can identify patterns that suggest deeper technical issues. Always prioritize the removal of hard bounces to maintain a clean database. Consistent monitoring of these metrics will help you sustain high deliverability rates over time.
Best Practices for Maintaining Sender Reputation
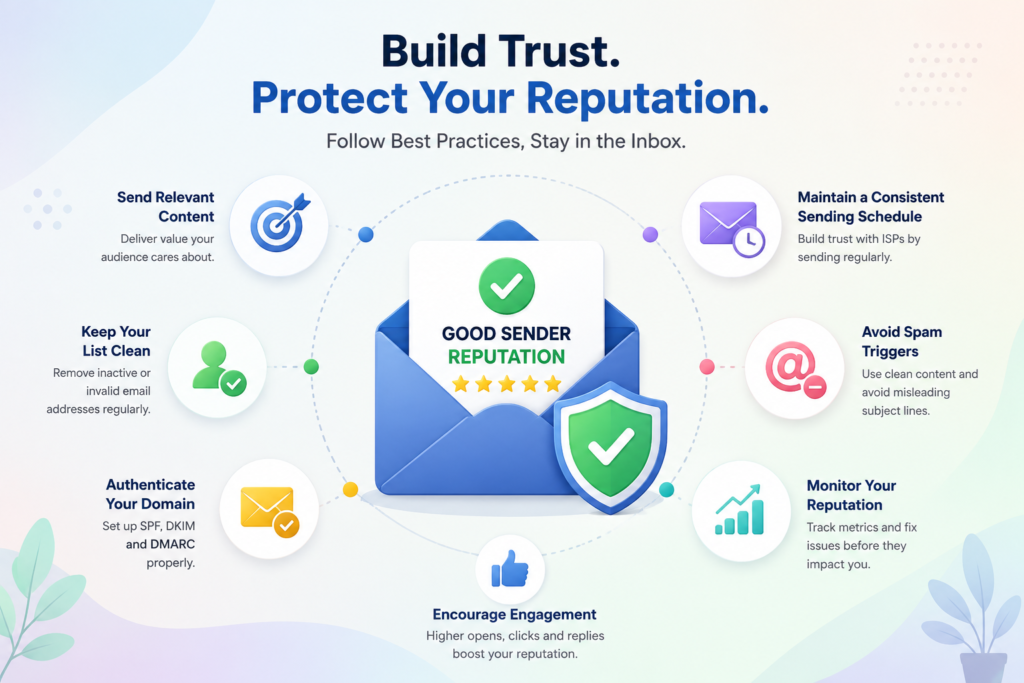
If you want to avoid a blacklist email, you must prioritize consistent sending practices and high-quality engagement. Building a solid reputation is a long-term commitment that signals to internet service providers that your domain is trustworthy.
Following these practices helps ensure your email is not blacklisted and continues reaching your subscribers successfully. By following these strategic steps, you can ensure your messages reach the inbox instead of the spam folder.
Warming Up Your IP Address
When you start with a new IP address, you cannot send high volumes of mail immediately. You must gradually increase your sending volume to establish a positive history with mailbox providers. This process, known as warming up, allows providers to observe your traffic patterns and verify your legitimacy.
Start by sending small batches to your most active subscribers. Slowly expand your reach as you confirm that your bounce rates remain low and engagement stays high. This careful approach prevents your IP from being flagged as a source of a potential blacklist email.
Monitoring Engagement Metrics Regularly
You should keep a close eye on your open rates, click-through rates, and bounce rates. These metrics provide a clear picture of how your audience interacts with your content. If you notice a sudden drop in engagement, it may be time to re-evaluate your list quality. Poor engagement patterns are often early warning signs before an email becomes blacklisted.
Consistent monitoring helps you identify deliverability issues before they escalate into serious problems. By acting quickly on negative trends, you protect your sender reputation and maintain a healthy relationship with your subscribers.
Avoiding Spam Trigger Words in Subject Lines
The language you use in your subject lines plays a significant role in your deliverability. Avoid aggressive sales language or excessive capitalization that often triggers spam filters. Words like “free,” “guaranteed,” or “urgent” can sometimes lead to a blacklist email if used too frequently.
Focus on creating clear, relevant, and honest subject lines that provide value to the reader. When your content is authentic and expected, your audience is more likely to engage positively. This simple shift in strategy significantly improves your chances of landing in the primary inbox.
Legal Compliance and Ethical Sending Standards
Ethical sending standards serve as the foundation for avoiding persistent email deliverability issues. When you prioritize legal compliance, you protect your sender reputation and ensure your messages reach the intended inbox. Following these guidelines is not just a regulatory necessity but a strategic advantage for your business.
Adhering to CAN-SPAM Act Requirements
The CAN-SPAM Act sets the rules for commercial email in the United States. You must include a valid physical postal address in every message you send. Furthermore, your subject lines must accurately reflect the content of your email to avoid misleading recipients.
It is also mandatory to identify your message as an advertisement if it is promotional in nature. Failure to follow these basic rules can lead to severe penalties and damage your brand’s credibility. Compliance is the first step toward building a sustainable email program.
Ensuring Transparent Opt-in Processes
Transparency is vital when collecting subscriber data. You should always use a clear opt-in process where users explicitly consent to receive your communications. Implementing a double opt-in method helps verify that the email address belongs to the owner, which significantly reduces email deliverability issues.
Avoid pre-checked boxes or deceptive sign-up tactics that confuse your audience. When subscribers know exactly what they are signing up for, they are more likely to engage with your content. Honest data collection leads to a healthier and more responsive list.
Managing Unsubscribe Requests Promptly
Providing an easy way to opt out is a legal requirement and a best practice for maintaining list quality. You must honor all unsubscribe requests within ten business days of receiving them. If you ignore these requests, you risk being flagged as spam by major internet service providers.
Make your unsubscribe link visible and easy to find in every email footer. By managing these requests promptly, you minimize email deliverability issues and show respect for your subscribers’ preferences. Respecting user choice is essential for long-term success in email marketing.
Stop Guessing! Start Landing in the Inbox
Recover from blacklists, improve email deliverability, and manage high-performing campaigns with MailerRocket’s advanced email marketing and automation platform.
Conclusion
Maintaining a clean reputation requires constant vigilance and a commitment to high standards. You protect your brand by prioritizing list hygiene and strict technical authentication protocols.
These habits serve as your primary defense against persistent email deliverability issues. You gain control over your communication channels when you treat every subscriber interaction with care and transparency.
Tools like Google Postmaster Tools or Microsoft SNDS provide valuable insights into your domain health. You should review these metrics to spot potential problems before they escalate into full blocks.
Consistent monitoring keeps your messages landing in the inbox rather than the spam folder. Taking action before your domain becomes email blacklisted protects your long-term sender reputation and campaign performance. You build trust with major providers like Gmail and Outlook by following these established best practices.
Your long-term success depends on your ability to adapt to changing industry regulations. You ensure reliable outreach by staying informed about evolving security standards and user expectations.
Take charge of your digital footprint today to prevent future email deliverability issues. Your subscribers value relevant content, and your dedication to quality ensures they receive it every time. Preventing an email blacklisted situation requires ongoing monitoring, strong authentication, and responsible sending practices.
FAQs
What does it mean when my domain or IP is email blacklisted?
When you are blacklisted, your sending IP address or domain has been added to a real-time database, such as those managed by Spamhaus or Barracuda that identifies sources of spam. This typically happens when your sending behavior triggers security filters, causing your messages to be blocked or diverted to the junk folder by major providers like Google Workspace or Microsoft Outlook. Being email blacklisted does not always mean your domain is permanently damaged, but it does require immediate action to restore trust with mailbox providers.
How can I accurately check email for blacklist status across different providers?
You can use specialized diagnostic tools like MXToolbox, SenderScore, or DNSRBL to scan your domain and IP against hundreds of global databases. These tools will provide a detailed report showing if you are listed on major registries like SORBS or the Composite Blocking List (CBL), helping you identify exactly where your email deliverability issues are originating.
Why does a high email bounce rate lead to my messages being flagged as spam?
A high bounce rate signals to Internet Service Providers (ISPs) that you are practicing poor list hygiene or using an unverified recipient list. If you frequently attempt to send messages to invalid or non-existent addresses, filters at Comcast or Verizon will flag your account as a potential spammer to protect their users, eventually leading to your blacklist email status.
What is the first step in how to remove email from blacklist registries?
The first step is to immediately stop all outbound marketing campaigns to prevent further damage. You must then identify and fix the root cause, such as a compromised account or an outdated subscriber list. Once the issue is resolved, you can visit the blacklist operator’s website, such as Spamhaus.org, and follow their specific “delisting” or “removal” request procedure, providing evidence that your sending practices have improved.
Can my email deliverability issues be caused by a shared hosting environment?
Yes. If you use a shared hosting provider like Bluehost or GoDaddy, you share an IP address with other users. If one of those neighbors sends spam, the entire IP may be blacklisted, affecting your deliverability as well. In such cases, you may need to contact your Email Service Provider (ESP) to move to a clean IP or consider a dedicated IP address to protect your sender reputation.
How does the CAN-SPAM Act impact my status on a blacklist email database?
While the CAN-SPAM Act is a legal framework, its requirements, such as including a physical address and a clear unsubscribe link, align with the criteria used by blacklist operators. If you fail to comply with these regulations, recipients are more likely to mark your emails as spam, which triggers complaints to operators like SpamCop and leads to your domain being email blacklisted.
What is the best way to maintain long-term email deliverability?
You should prioritize regular list hygiene by removing inactive subscribers and verifying addresses before sending. Additionally, “warming up” a new IP address by gradually increasing your send volume helps establish trust with ISPs. Monitoring your engagement metrics and avoiding common spam trigger words in your subject lines will ensure your communications consistently reach your audience’s inbox.
How to check if your email domain has been blacklisted?
You can check whether your email domain has been blacklisted by using free blacklist monitoring tools such as MXToolbox, MultiRBL, or Spamhaus Lookup. Simply enter your domain name or sending IP address, and these tools will scan dozens of public DNS-based blacklists (DNSBLs) to see if your domain has been flagged. You can also monitor your sender reputation using Google Postmaster Tools and Microsoft SNDS if you regularly send bulk emails. If your domain appears on a blacklist, identify the root cause, resolve the issue, and submit a delisting request to the respective blacklist provider.
How to send bulk emails without getting blacklisted?
To send bulk emails without getting blacklisted, authenticate your domain with SPF, DKIM, and DMARC, send emails only to opted-in subscribers, and warm up new domains or IPs gradually. Keep your email list clean, avoid sudden spikes in sending volume, monitor bounce and spam complaint rates, and regularly track your sender reputation to maintain strong email deliverability.
How long does it take to get removed from an email blacklist?
The time it takes to be removed from an email blacklist depends on the blacklist provider. Some automated blacklists remove your domain or IP within 24–48 hours after the issue is fixed, while others may take several days and require a manual review. To speed up the process, resolve the root cause first, then submit a complete delisting request with accurate information.